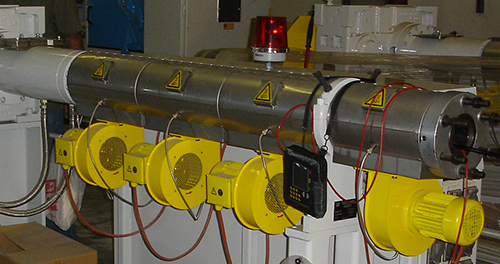
E930 EXTRUDER ALIGNMENT

Easy-Laser® E930 is designed to measure straightness and pointing direction, primarily on extruder barrels. Another application is hydraulic pipes, among others. Easy-Laser® E930 measures barrels and pipes of diameters down to 50 mm, at a range of up to 40 m. The transmitter’s laser beam creates an absolutely straight reference line— a perfect starting point for precision measurement.
During the alignment procedure both the detector and spindle are rotated, thereby self calibrating the system. This lets you determine the alignment of the centerline of the spindle relative to the tube’s center at the inlet end.
DOCUMENT YOUR MEASUREMENT RESULTS
The detector’s measurement values are transferred to the display unit wirelessly via Bluetooth®, letting you measure more freely, without fear of any cable entanglements. The measurement system’s programs guide you step-by-step, using clear graphics on a large 5.7″ color screen. You can also produce full documentation for your measurement job, with direct generation of PDF reports, and database programs for PC for example.
MANY REASONS FOR ALIGNMENT
The gearbox shaft center must coincide with the centerline of the extruder barrel. Otherwise the screw at the inlet end will press against the barrel, leading to abnormal wear of both screw and tube along with increased energy consumption. This wear can also result in metal fragments entering the product. It is also important that the extruder tube be straight so that the screw does not rub against the tube in any place, which can also result in abnormal wear and fragments of metal in the produced material. A good alignment also ensures a more even temperature of produced material which in the end results in a better quality product.